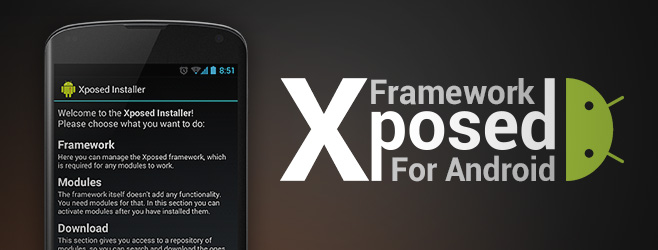
While installing a custom ROM is a great way for you to gain certain features on your device, you just can’t fully customize your device without installing the Xposed Framework. For those of you who don’t know, Xposed Framework grants users the ability to flash in special, customized modules onto their devices. These modules can do something as basic as changing the way your UI looks to something as advanced as adding floating notifications to your device. So if you’re looking to learn how to install Xposed Framework on your device just follow our simple tutorial below which will walk you through the whole process.
How to Install Xposed Framework on your Android Device
Note: Before we begin, do note that this is a risky procedure and it has the potential to soft brick your device. So do proceed with caution as we accept no responsibility for any damages that might be done to your device either during or after the process.
- Root your device and create a NAND backup of your device by using any method that’s suitable for your device
- Once you have root privileges, download the Xposed Framework APK from the link given at the end
- Install the app and launch it just like you would any other app
- Tap the “Install/Update” button and wait for SuperSU to ask you to allow or deny root privileges to the app. Tap Allow and wait for the framework to be installed onto your device
- For the framework to become active you need to reboot your device. Once you do that, you’re good to go.
That’s about it, you will now have Xposed Framework on your device. Of course that alone doesn’t give you anything as you need to flash in the mod of your choice for the desired changes to take effect. So just head onto XDA Developers and find the mod that arouses your fancy and get started. Hope this guide helped you in your quest to install Xposed Framework onto your device.


There are no comments
Add yours